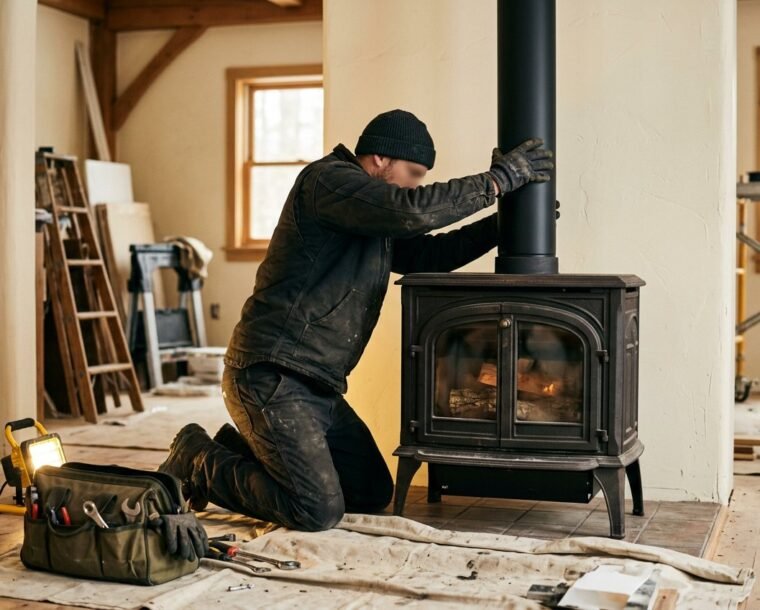
A straightforward freestanding stove installation takes a competent installer most of a day. Here is what happens, what it costs, and the details that catch people out.
Before the day
Confirm three things: the stove’s clearance-to-combustibles table, the floor protection required, and the flue route. These come from the manufacturer’s manual, and your insurer will want to see them. Measure the route twice — a flue that exits 9 feet from the ridge needs to be taller than one that exits near it.
On the day
- Hearth protection is set and levelled.
- The stove is positioned and levelled, respecting clearances.
- Connector pipe and chimney are assembled, with the required support box and flashing.
- The cap goes on, the storm collar is sealed, and the draft is tested.
- The first fire is lit to cure the paint — expect some smell and light smoke for an hour.
The paperwork
Keep the manual, the installation receipt and photographs of the clearances. Most insurers accept a signed installer declaration; some require a permit inspection. If your installer is not licensed in your jurisdiction, check with your local code office before the day, not after.
Cost expectations
Installations typically run $600–$1,800 depending on flue height, roof complexity and whether a new Class-A chimney is required. Our chimney kits cover the hardware; labour is quoted locally.
Written by admin Installation